New Job Application with Browser Extension
Written By Rayan Bajwa
Last updated About 1 year ago
Before You Start
Make sure you’ve signed up on JobSwift, if you haven’t already. JobSwift supports typical sign-in options such as with Google, AppleID, LinkedIn or your email.
Install browser extension for JobSwift (try it for Chrome or Firefox).
You need to have at least one CV added on JobSwift. Learn more about adding your CVs on JobSwift.
Applying Jobs with JobSwift Extension
1. Launch JobSwift browser extension
First step when using JobSwift browser extension is to open your browser extension. You will see the login window. Choose your preferred method and login.

2. Select a CV
Once you login on the browser extension, you will see the list of CVs you have saved on JobSwift. Choose the CV you are using to apply the job.
If you don’t have a CV, you can always build or import it from our web app.

3. Go to Job Listing Page
Once you’ve selected a CV, navigate to your desired job listing page in the web browser. This is an important step as it lets JobSwift collect employer and job information, which is then used in other steps e.g., CV optimization or autofilling application etc.

You need to reopen the JobSwift browser extension once you’re on the job listing page.
4. AI CV Optimization (Optional)
Before starting your application, you have the option to optimize your CV for this specific job using our AI-based tool. To do that, use the Auto Optimize CV checkbox. This will make your CV job relevant and will also improve your chances of getting through the ATS (Applicant Tracking System) filters. Learn more about AI CV Optimization.
Please make sure that you are on the valid job listing page when checking the Auto Optimize CV button. This lets JobSwift optimize your CV based on the job description.

5. Start new application on JobSwift
Once your CV is all set, you can start your application. To proceed, click on the Start New Application button from the extension.

6. Download optimized CV (Optional)
The CV you’ve optimized in Step 4 can be downloaded it at this point. We recommend using this PDF version for jobs that require uploading a PDF CV file.

7. Copy the JobSwift Email ID
Automatic tracking on JobSwift works by analyzing any inbound messages you receive about a job application. Based on these messages, your application status gets updated on JobSwift. To achieve that, all your application correspondence needs to be routed via JobSwift. This requires you to use your JobSwift email ID when applying to jobs.
What is JobSwift email ID?
JobSwift email ID is generated for you randomly each time you save a job. Or you can personalize it from your profile settings. We recommend personalizing JobSwift email to keep it the same for all your applications. Learn more.
You need to copy your JobSwift email ID for the next step of the workflow i.e., to apply the job. Your JobSwift email ID is typically shown on the extension itself when you start saving a job. You can just copy it from there.
If you are using the Autofill feature, it will try to fill the JobSwift email ID into the email field automatically.

8. Start applying to the job
Once you’ve copied the email ID generated by JobSwift, you can start applying to the job. When applying, you need to use the same email ID that you copied from JobSwift extension.
In case you need to create an account on employer’s site for job application, be sure to use the same email there too. See below screenshot for an example.

If you don’t use the email ID that JobSwift generates for you, automatic tracking for your job will not work.
9. Autofill and submit application
Next step in the workflow is to fill the job application that you have opened in your browser. Here, you can either fill it manually or use our Autofill feature.
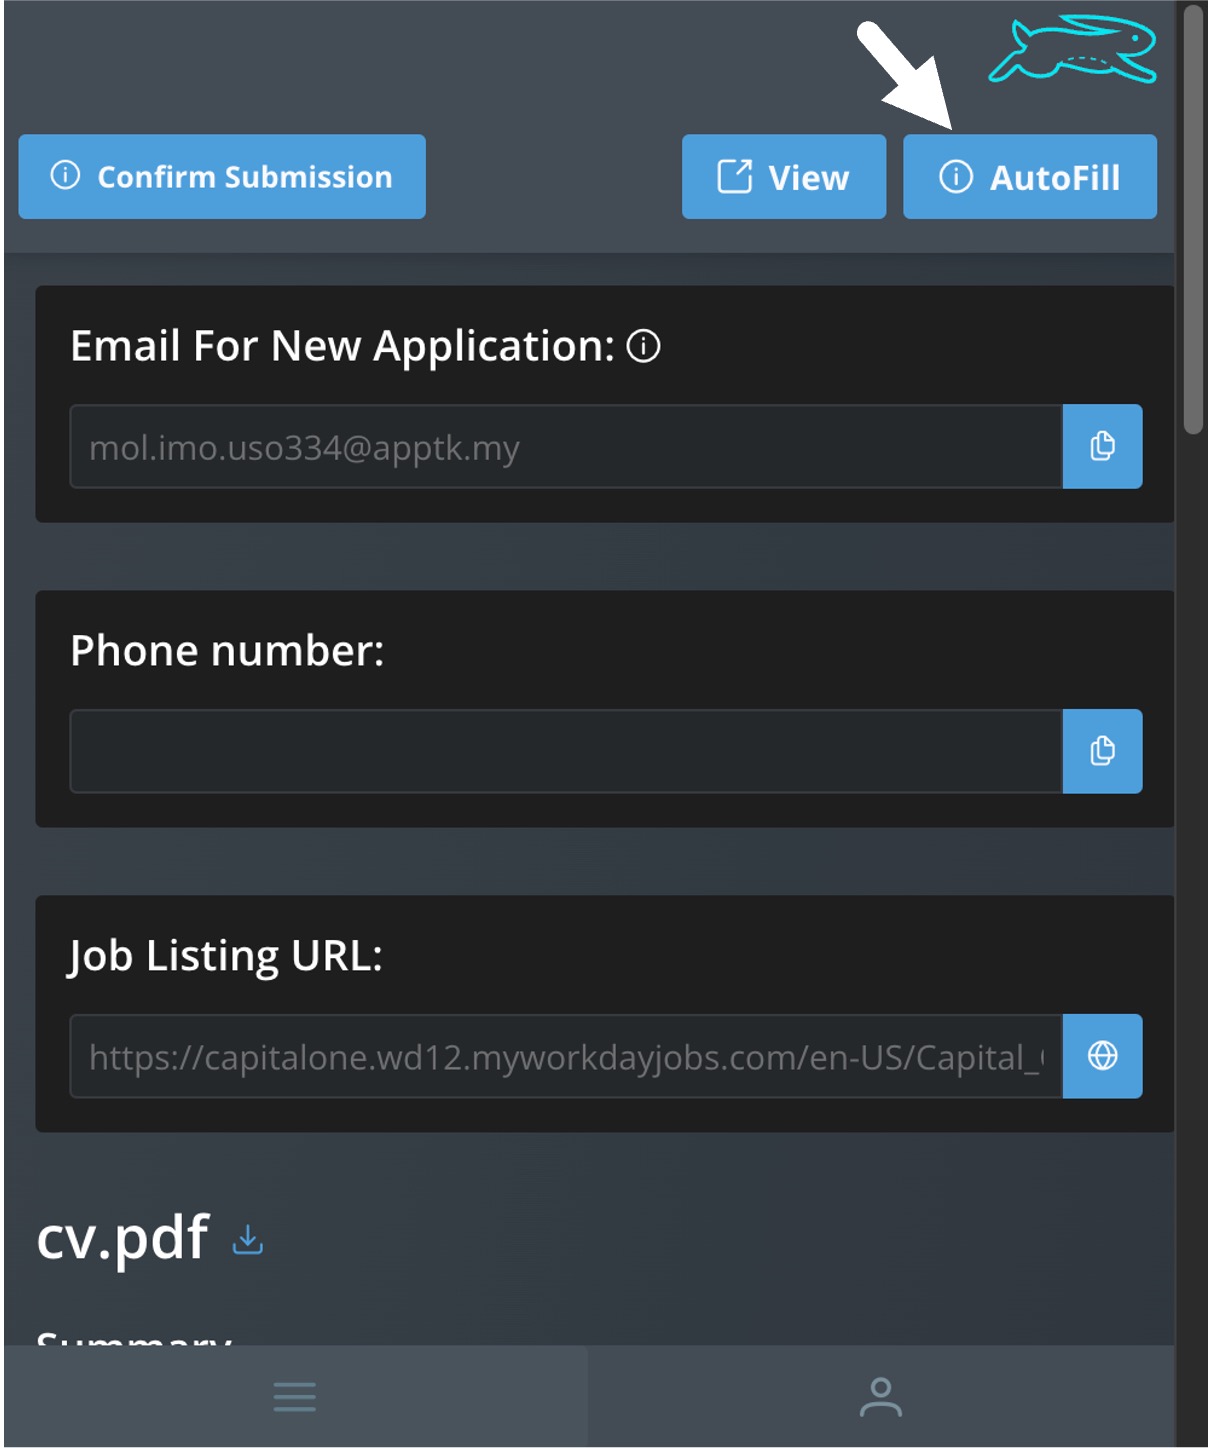
The autofill feature pulls all the needed data from the CV you selected and populates as many fields as it can in the job application. If your job application has multiple steps, you can use the autofill feature multiple times to fill the given fields. See an example below.

Once you fill in the application, confirm that the information entered is correct and submit your application.
10. Confirm job application submission on JobSwift
Once you have applied to a job, you need to confirm it in the JobSwift extension. Your job will be then saved in your profile, which you can visit later from our web app.

What Happens After You Apply?
Once you’ve applied to a job and saved it on JobSwift, it will be shown on your Applications page in the web app. You can view or edit it at any time by just clicking on it.

How to track applications?
Job tracking on JobSwift is fully automatic. Since you’ve used your JobSwift email ID for your job application, you will be receiving correspondence about your application on JobSwift - on the Messages page. From these messages, your current application status will be retrieved automatically and tagged to your saved job.
You can use our Table View or Kanban Board to track applications with their status.
